Easy Skeleton Drawing

Get ready for an easy drawing lesson that focuses on a skeleton drawing. In this step-by-step tutorial, I’ll guide you through how using simple materials like pencils and colored crayons can draw a skeleton with minimal parts; it's totally applicable to all beginners. We’ll cover each basic part of the skeleton, from the skull and eye sockets down through the feet and toes. Plus, we’ll incorporate some fun techniques that will help your drawing really stand out.
I’ll show you how outlining and shading can elevate your work, making it not just a skeleton but has a slight bit of pop and 3D-ness. We’ll even add some dramatic flair with red glowing pupils that give your skeleton character a slight spooky look. By the end, you’ll feel confident and proud of what you’ve created! So gather your supplies and let’s get those creative bones moving!
Estimated Time: 60 minutes
Level: Intermediate
Materials
- Blank Paper
- Pencil
- Crayons or Colored Pencils
Lesson: Easy Skeleton Drawing
We're breaking down the art of an simple skeleton drawing, and I've got you covered with a clear, step-by-step guide. In just 18 simple steps, you'll learn how each part of the skeleton comes together, from the skull all the way down through the feet and toes. We'll focus on outlining and proportioning, then wrap it up with some coloring and shading techniques. Keep scrolling if you're ready for some creative fun!
Outline the Skull

Start by forming the outline of the skull
Draw the Eye Sockets

Create two ovals to draw the eye sockets on the skull.
Add the Nasal Cavity

Draw a triangular outline of the nasal cavity.
Attach the Jaw

Draw a curved line attached to the base of the skull to outline the jaw.
Outline the Sternum

Draw a long oval to outline the sternum.
Form the Rib Cage

Form the shape of the rib cage around the sternum.
Add the Vertebrae

Draw two bumpy vertical lines extending from the skull to form the vertebrae.
Outline the Pelvis

Outline the pelvis connected to the vertebrae.
Form the Clavicles

Form the thin, horizontal shape of the clavicles, also known as the collar bones.
Draw the Arm Bones
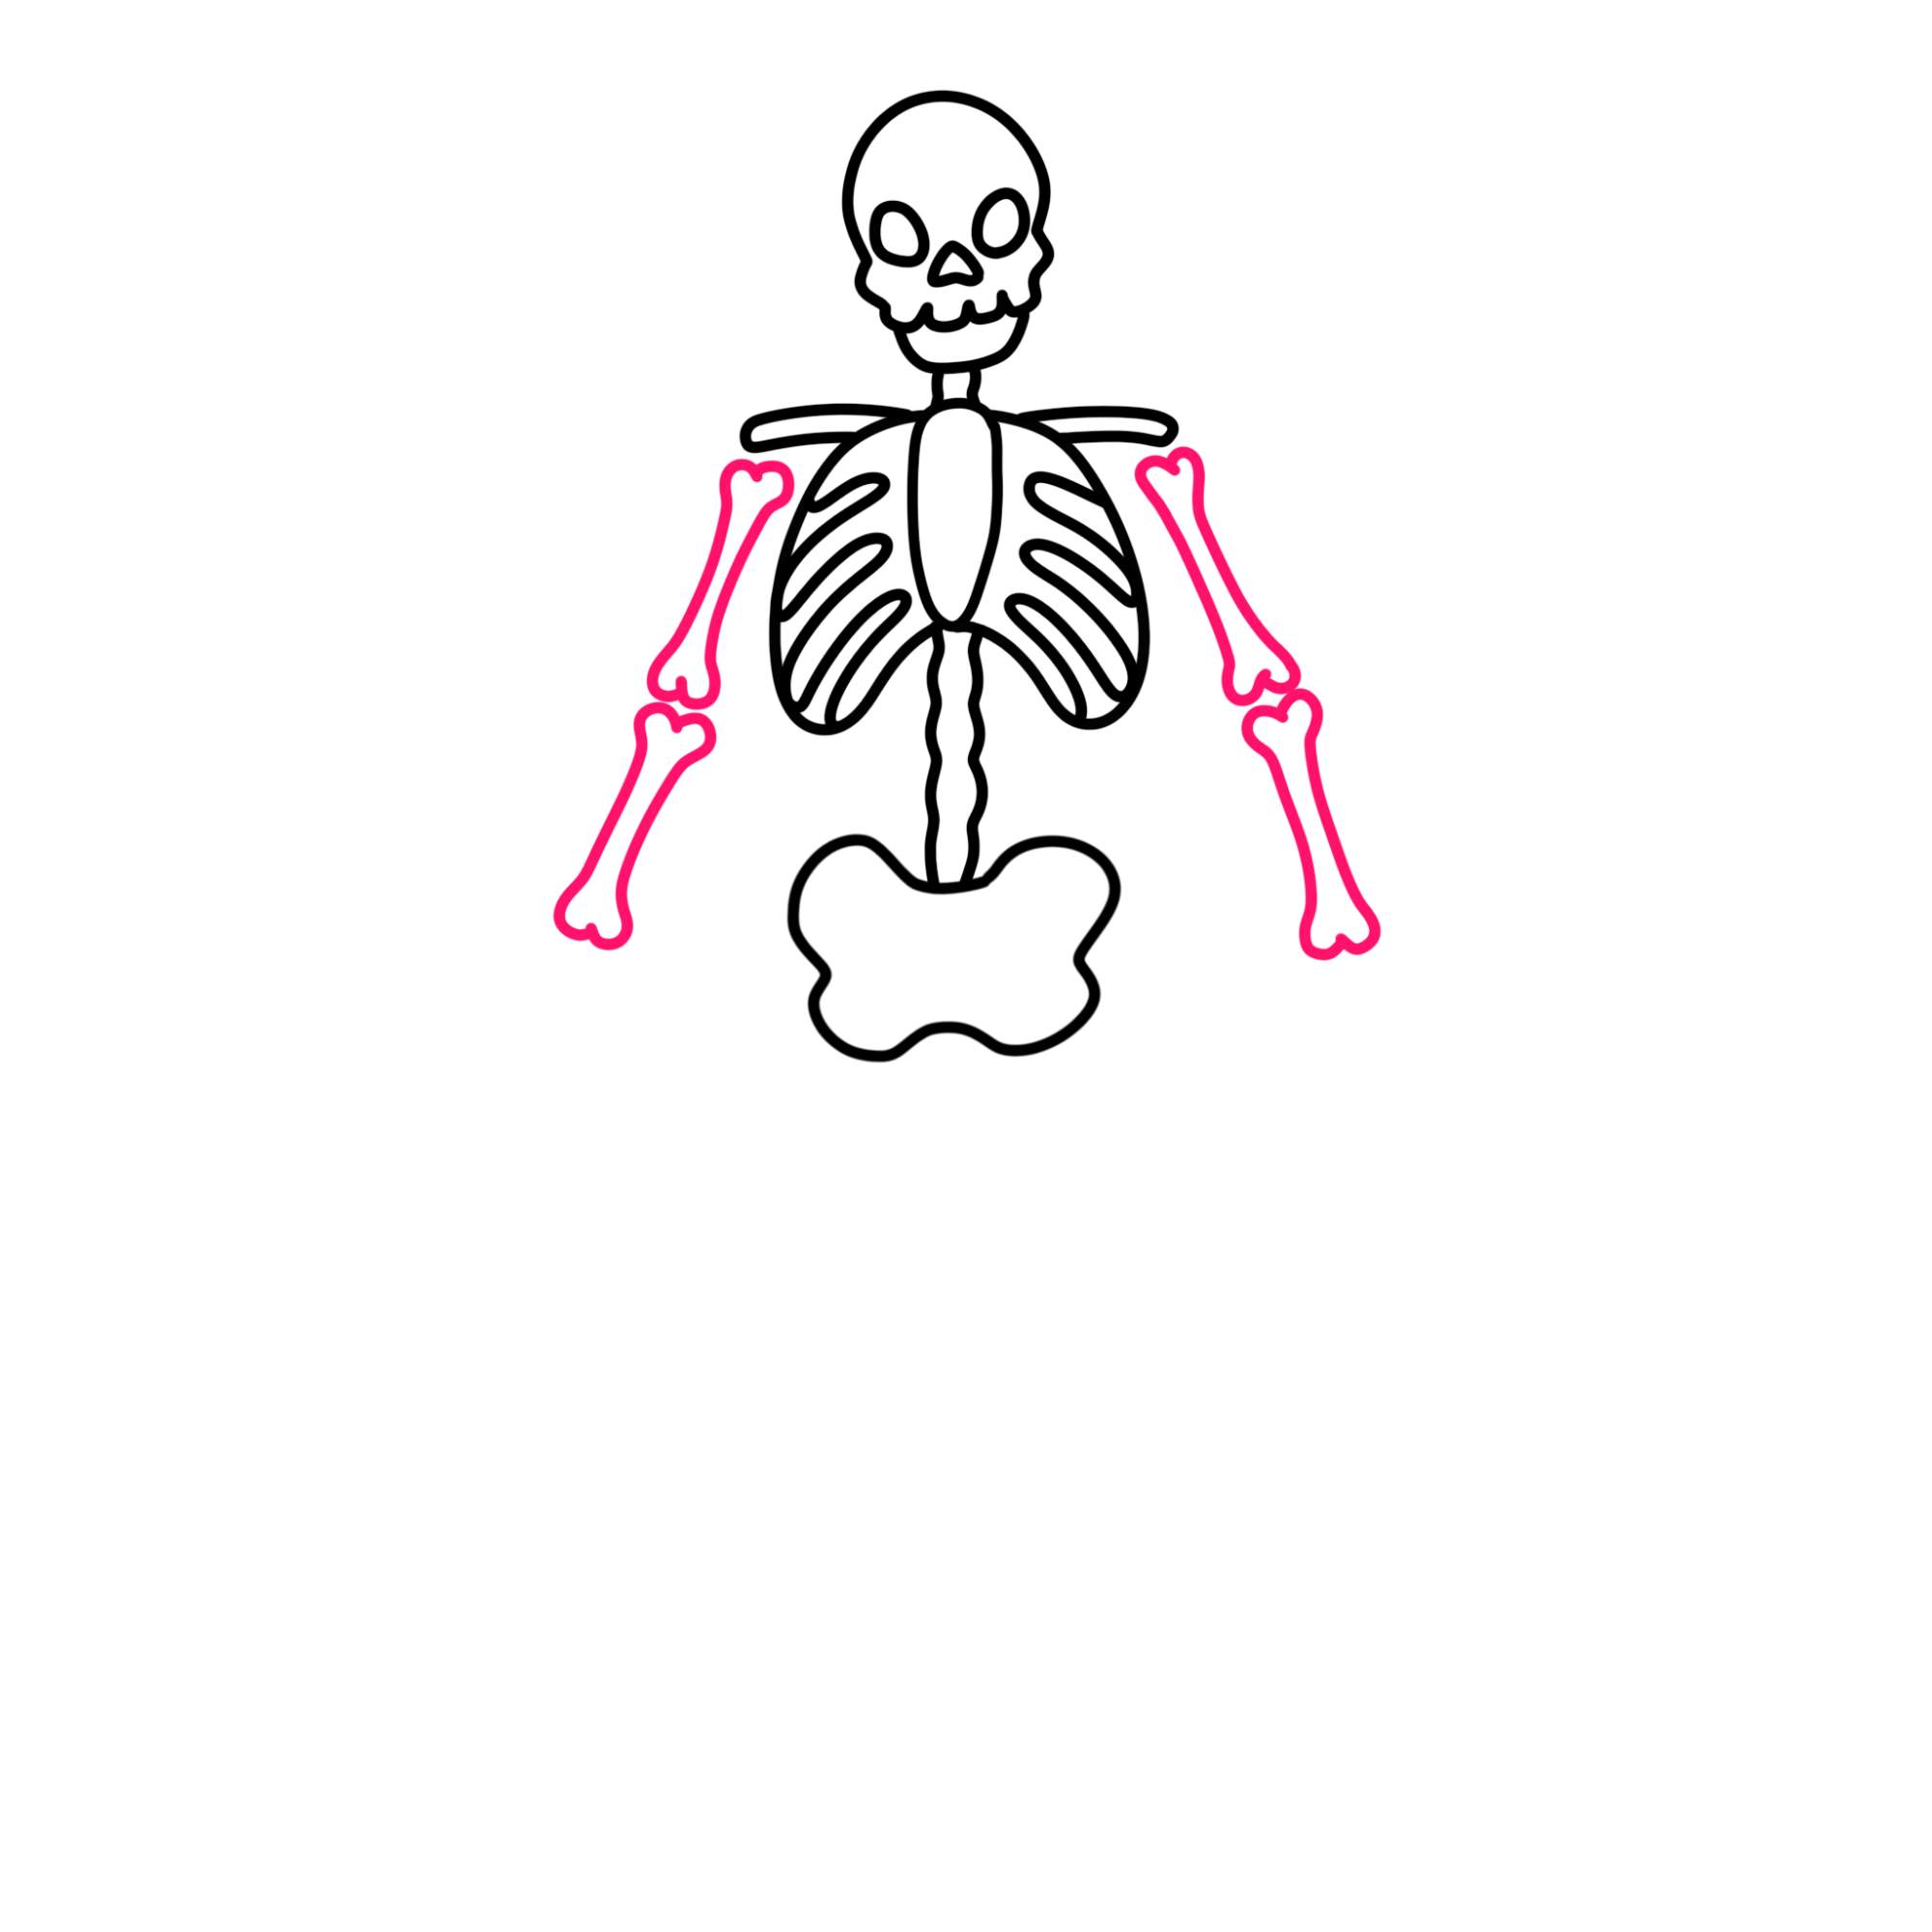
Draw thin bones representing the skeleton’s bones on its upper arms and forearms as shown.
Outline the Hands

Form the rectangular outline of the skeleton’s hands.
Attach the Fingers

Draw the skeleton’s thin fingers connected to its hands.
Form the Leg Bones

Form the bones on the skeleton’s legs below its pelvis.
Draw the Feet

Draw the shape of its feet and toes similar to the illustration.
Color the Eye Sockets

Add red glowing pupils with white in the center. Then, fill in the eye sockets with black.
Shade the Nasal Cavity and Rib Cage

Shade the hollow part of the nasal cavity and rib cage with black.
Fill in the Skeleton

Fill in the skeleton’s bones with an off-white color.
Add Shading to the Skeleton

Use a cream color to add some shading to the skeleton’s entire body.

Artist & Educator